I sure hope that your May has kicked off to a good start. The heat is settling in quick around our parts. We've kicked off May with watching our softball girls win the District. Next week we start another round of ball. It's so much fun to watch these girls and especially our girl, Mallory. She plays centerfield. We were so proud of both teams that played against each other. They all, hand in hand gathered together as one of our girls prayed for the game and also for one of our young men that was in a horrific car accident and fighting. His name is Kaden if you can think to lift him up to our Lord. I had the opportunity recently to speak to a group of women at a ladies luncheon event at a local church. Oh we had so much fun. I wished I had gotten pictures of the beautiful decorations. We had a TEA PARTY and we each kept the cup that we drank out of it. Isn't she just lovely? Easter has come and gone but we sure have a great time with family. We gather each...
Well, another Laundry Room project marked off the list!

Remember the Laundry Room Chalkboard?
 http://creationsbycindyphotography.blogspot.com/2015/04/another-laundry-room-project.html
And the Laundry Room Rag Tie Wreath?
 http://creationsbycindyphotography.blogspot.com/2015/03/laundry-room-rag-tie-wreath-and-tutorial.html
So I had some of the gray and white strip material left and decided I needed a new ironing board cover.

I took the material (was around 2 yards) and placed it in my kitchen floor and placed the ironing board on top of the material. As you can see I have material left for something else.

I cut it out the shape of the ironing board (as best as I could) leaving enough material all the way around so that I could form a hem.

Then I pressed the hem in place with my iron. I did not measure the hem. I just allowed enough hem so my elastic would go through easy.
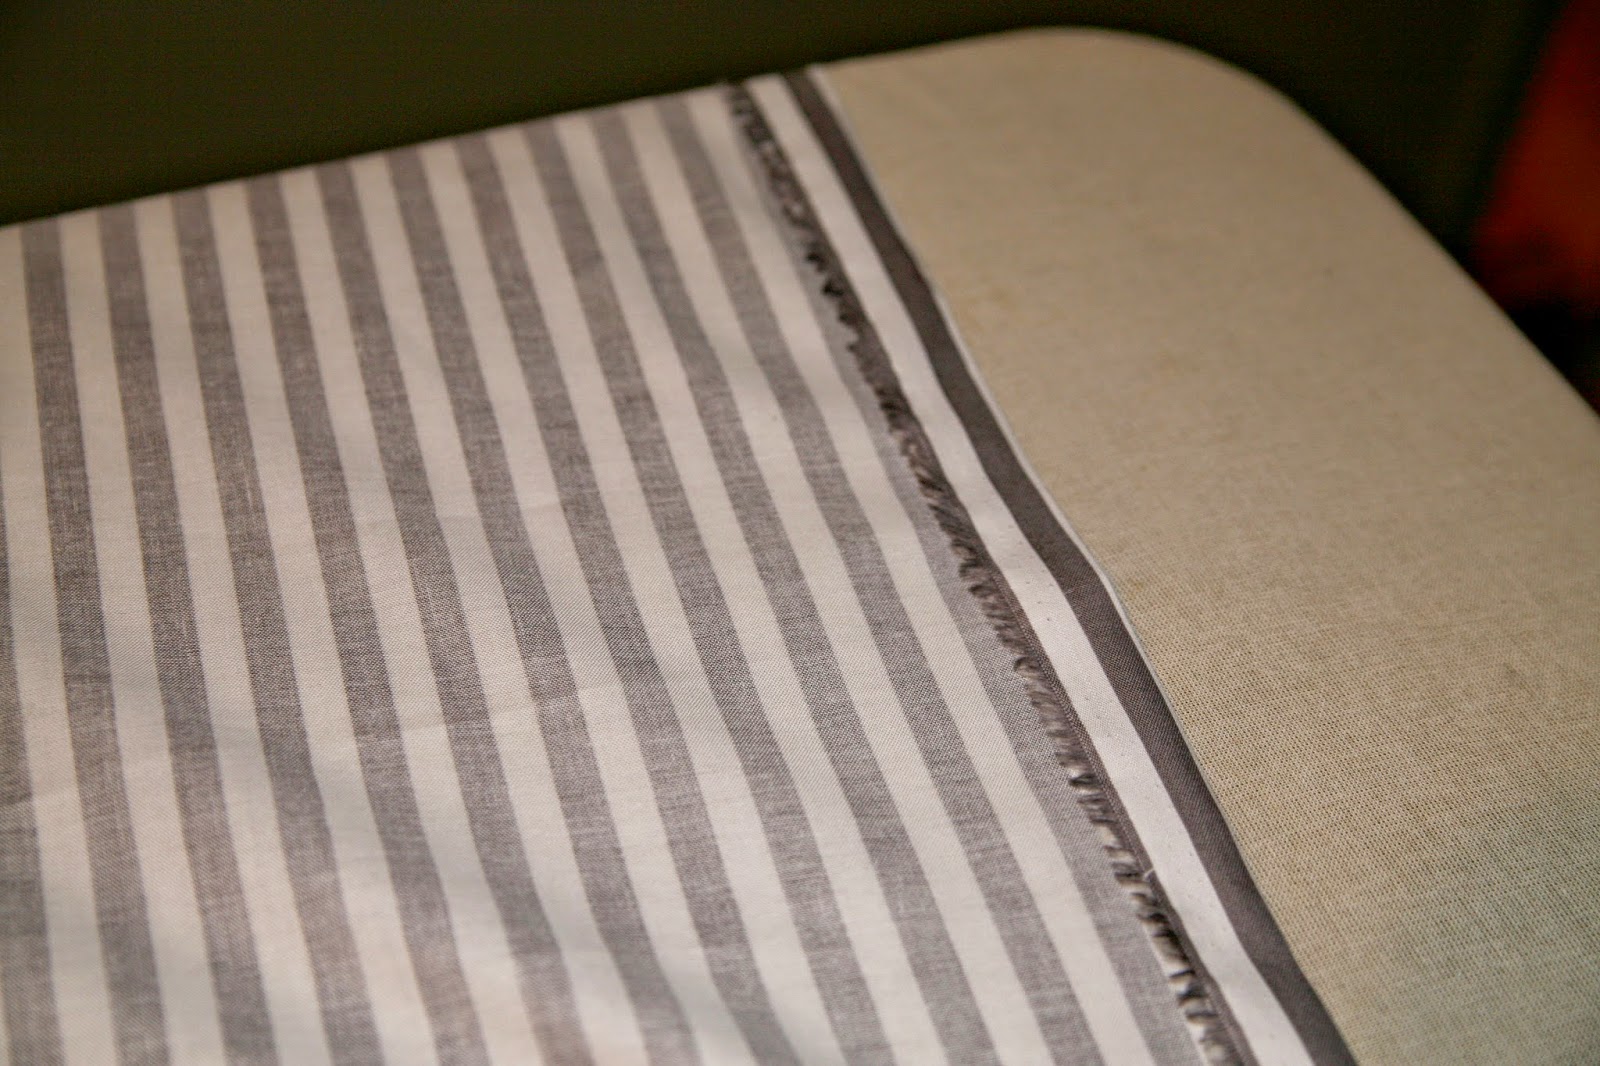
I pressed hem in place all the way around lapping over the corners. On the side that is rounded I just pressed the hem down as best as I could.

Then I hemmed it in place with my sewing machine and left just enough opening to get my elastic through.

I used a safety pin to thread my elastic through but I know people that use a bobby pin and it works just as well.

I threaded my elastic through my hem all the way around pulling as I went to make it as even as possible. When I got to end I simply used the safety pin to pin the elastic in place and then I pinned the other side of elastic as well.

Placed the cover on the ironing board and pulled it as I saw needed so it would fit nicely. Then I tied the elastic as tight as I could with a double tie and snipped the remainder of the elastic. Finished Project!

And...this is what it would look like If I decided to iron!!!! (which don't happen often)

My ironing board will now be perfect in the new laundry room! (and just so you will know...I almost made some yo-yos to attached SOMEWHERE! LOL!
Remember the Laundry Room Chalkboard?
And the Laundry Room Rag Tie Wreath?
So I had some of the gray and white strip material left and decided I needed a new ironing board cover.
I took the material (was around 2 yards) and placed it in my kitchen floor and placed the ironing board on top of the material. As you can see I have material left for something else.
I cut it out the shape of the ironing board (as best as I could) leaving enough material all the way around so that I could form a hem.
Then I pressed the hem in place with my iron. I did not measure the hem. I just allowed enough hem so my elastic would go through easy.
I pressed hem in place all the way around lapping over the corners. On the side that is rounded I just pressed the hem down as best as I could.
Then I hemmed it in place with my sewing machine and left just enough opening to get my elastic through.
I used a safety pin to thread my elastic through but I know people that use a bobby pin and it works just as well.
I threaded my elastic through my hem all the way around pulling as I went to make it as even as possible. When I got to end I simply used the safety pin to pin the elastic in place and then I pinned the other side of elastic as well.
Placed the cover on the ironing board and pulled it as I saw needed so it would fit nicely. Then I tied the elastic as tight as I could with a double tie and snipped the remainder of the elastic. Finished Project!
And...this is what it would look like If I decided to iron!!!! (which don't happen often)
My ironing board will now be perfect in the new laundry room! (and just so you will know...I almost made some yo-yos to attached SOMEWHERE! LOL!
Hugs and blessings, Cindy
Awesome job. It looks great! What a clever crafty girl you are! I wouldn't have been at all surprised if you had added being, though! :-)
ReplyDelete*bling....silly "smart" phone!!! ;-)
DeleteLOL! I came close to adding some yo-yos!
DeleteAnd some bling Deb.
DeleteWhere's the yo-yos? LOL!
ReplyDeleteConnie Royals
Connie, If I could have figured how where to put them I would have.
DeleteThe yo-yo's would be cute. :) I love the new cover! Even if you don't iron that often, you'll get a kick out of seeing it in there! Love that fabric!!
ReplyDeleteHeather, I thought about putting some on the ends of the board since I barely use it! LOL!
DeleteLook at you! I'm impressed with your fine looking ironing board cover! You are so clever!
ReplyDeleteNancy :)
Very neat! Haha, if you decide to iron! Remember how we use to iron everything? Much easier today.
ReplyDeleteLOL! I iron SOMETIMES!
DeleteHi Cindy, Your new ironing board cover is beautiful. I love the stripe coordinating with your laundry. Thanks for sharing how you created it. Oh I'll bet the yo-yo's are cute. Just like cute you with the iron!!
ReplyDeleteHave a nice evening.
Hugs, CM
Cindy, it looks great! I have to admit that I haven't ironed in years. I do have an iron, though, just in case, but thankfully the dryers today work so well that ironing usually isn't needed. I appreciate your post, because it brings back fond memories for me. When I was a little girl, I remember watching my mother iron...she ironed everything! Sheets, pillow cases, my father's shirts, whatever. She used a starch sometimes as well.
ReplyDeleteLinda my granny would iron everything!
DeleteI love the color, Cindy. You are so crafty....Christine
ReplyDeleteI love this tutorial! Thanks for sharing. I think I can redo my board cover now!!
ReplyDeleteThanks for stopping by to see me!
Delete